The quick answer
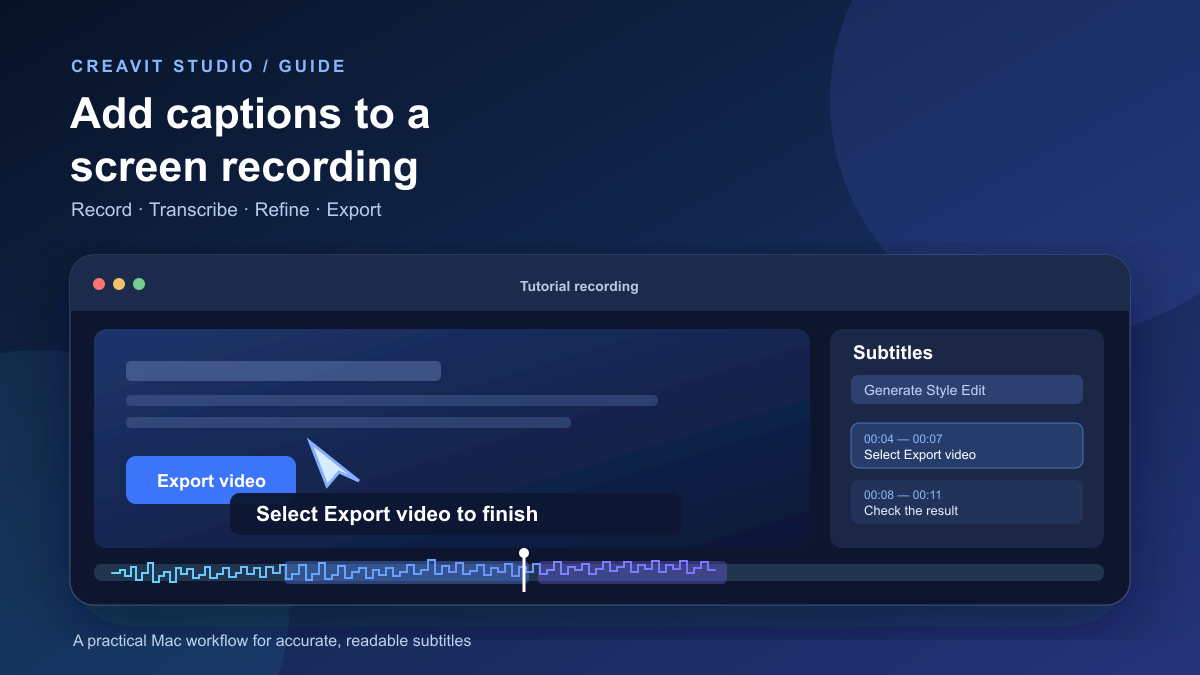
To add captions to a screen recording on Mac, record your screen with a microphone if you want your spoken explanation transcribed, open the video in an editor with subtitle tools, generate a transcript, correct the words and timing, then export and watch the finished file. In Creavit Studio, the path is record → Subtitles → Generate → Edit → Style → export. The transcription runs locally after a one-time speech-model download.
If the recording has no speech, automatic transcription has nothing to turn into captions. Add manual captions or text labels that explain each action instead. This distinction saves a common failed attempt: recording a silent click-through and expecting an AI model to know why you clicked.
| Your starting point | Practical route | Main check |
| Narrated screen recording | Generate captions from speech, then correct them | Names, timing, and whether captions cover the interface |
| Silent walkthrough | Write manual captions or short text overlays | Each step must make sense without narration |
| Quick upload to YouTube | Use YouTube's automatic captions and edit them in Studio | Captions can be selected in the player, but are not part of the video file itself |
Before recording, capture audio that is worth transcribing
The recording should contain the voice you want viewers to read. Make a short test, play it back, and confirm that the correct microphone is audible before completing a long tutorial. A clear voice recorded close to the microphone gives the captioning model a better source than a distant voice mixed with loud app sounds.
The built-in macOS Screenshot tool can record the display or a selected portion with microphone audio: press Shift–Command–5, open Options, and select a microphone. Apple's screen-recording guide documents these controls. This gives you a recording, but you still need a captioning workflow afterward.
In Creavit Studio, choose the display, window, or area you want to show, enable your microphone, and press Record. If an app's sound matters too, set up system audio separately from the microphone. The Mac system-audio guide explains that source choice. Speak the name of important buttons as they appear, and leave a brief pause after a result so a viewer has time to read it.
Add automatic captions in Creavit Studio
- Finish the basic cut. Remove the setup at the beginning, obvious mistakes, and long waits first. This lets you caption the sequence people will actually watch. For a detailed pass, see the silence removal guide.
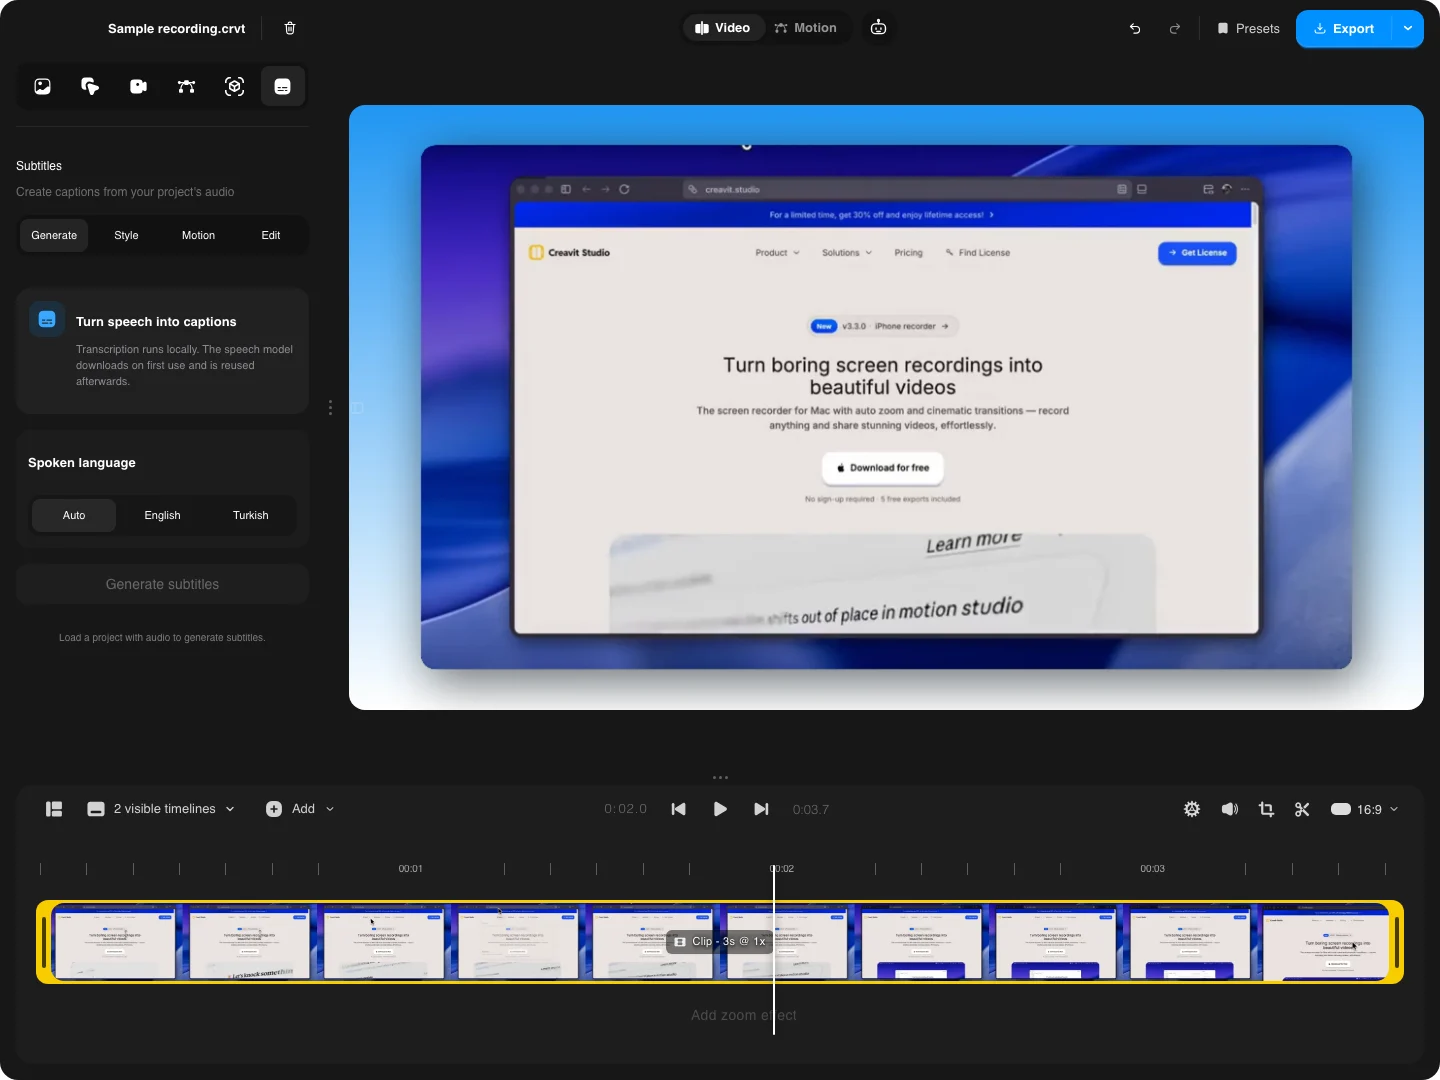
- Open Subtitles. In the desktop editor's settings, choose Subtitles, then Generate. The panel works from the audio in the current project; if it says to load a project with audio, check your recording's sound track.
- Choose the spoken language. The panel offers Auto, English, and Turkish. Select the spoken language directly when automatic detection gets it wrong.
- Generate the subtitles. The speech model downloads on first use, then transcription runs locally on your Mac. Generation gives you a draft; it does not remove the need for review.
- Open Edit transcript. Read the generated captions while playing the corresponding video. Correct product names, acronyms, file paths, numbers, and any words whose meaning changes the instruction.
- Adjust timing and style. Use the caption editor's timing controls to align a phrase with the speech. In Style, choose a readable preset or adjust the background, text, outline, font, size, and position. Motion is available when movement helps rather than distracts.
- Export and inspect the file. Play the actual exported video on a second screen size if you can. Check the first and last caption, edits near cuts, and moments when the UI moves under the text.
Correct meaning, not just spelling
Automatic transcription can make a sentence look plausible while changing its instruction. “Select Export” and “Select Explore” differ by one word but send a viewer to different places. Compare every product term with the interface visible in the recording. If a caption says a button name before that button appears, adjust its timing or the video cut.
Do not delete every pause by default. The moment after you open a menu may be the time a viewer needs to locate the control you named. Trim dead time, then watch the captions and pointer together at normal speed. That is more useful than optimizing only for the shortest runtime.
Make captions readable over a moving interface
A screen recording is a difficult caption background: one moment it is a dark editor, the next it is a white dialog. Preview the same caption over both. A contrasting background or outline can help it stay legible, and shorter phrases need less screen space. Keep it away from a button, form field, cursor target, or camera overlay that the viewer must inspect.
At the final playback size, check that the caption is readable without filling the screen. A layout that looks spacious in the editor may cover a mobile video player. If you are publishing both landscape and vertical versions, review placement in each export rather than assuming one position works for both.
Captions and text overlays have different jobs. Captions follow spoken content; a text overlay can name an unspoken step, introduce a chapter, or call attention to a result. For a silent demo, use the text overlay workflow instead of inventing dialogue. For a narrated demo, a short callout can supplement captions without repeating the entire sentence.
Burned-in captions or a selectable caption track?
Captions drawn into the video are open captions: they stay visible wherever that file plays. A separate caption track is closed captions: the viewer can turn it on or off in a compatible player. W3C's captioning guide explains the distinction and why synchronized captions should include meaningful speech and sound information.
Creavit Studio draws styled captions into the video canvas, so review their position in the exported file. If your destination also supports a selectable caption track, add or correct one there when your publishing requirements call for it. YouTube's automatic-caption guidance specifically recommends reviewing generated captions: automatic output can mishear accents, noise, and overlapping voices. Avoid assuming a visible text layer in an MP4 is a selectable track.
Common caption problems on Mac
Generate is unavailable or produces no useful text
Play the source clip and verify that it contains the intended voice. In Creavit Studio, the Generate action needs a project with audio. If the video contains only clicks or background music, add manual captions in Edit or write text overlays for the steps. If the voice is quiet, make a test with the correct microphone before re-recording the whole tutorial.
Technical terms are wrong
Set the spoken language explicitly and correct names in Edit transcript. Check words that an automatic captioner cannot infer from sound alone: brand names, filenames, keyboard shortcuts, and code. Listen to the full sentence before changing a word, because the surrounding phrase may also be wrong.
Captions drift after a cut
Review the join in the finished timeline. If a phrase arrives too early or lasts over the next action, adjust its in and out timing. Then replay a few seconds on both sides of the cut. This is especially important when you remove long pauses or rearrange a narrated section.
The text covers the control being explained
Move the captions, shorten the phrase, or place a short text label near the result instead. Preview any zoom or camera movement before settling on a position; the interface can move underneath an otherwise well-placed caption.
Final review before publishing
- Watch the exported file with sound to compare every instruction with the visible action.
- Watch a short section muted to check readability and whether important steps still make sense.
- Correct names, numbers, and shortcuts; inspect the first and final caption.
- Check light and dark scenes and the smallest likely playback size.
- Confirm whether the destination needs always-visible captions, a selectable caption track, or both.
Captions can make a tutorial easier to follow, especially when sound is unavailable. Accurate timing and wording are what make them useful. W3C's accessibility guidance describes synchronized captions for prerecorded video with audio; a spoken software walkthrough is a strong case for taking that review seriously.
Download Creavit Studio for Mac →
Frequently asked questions
Can I add captions to a screen recording without recording my voice?
Yes, but you need to write the captions or text overlays yourself. Automatic speech transcription cannot explain a silent mouse movement. In Creavit Studio, Edit lets you add a caption manually.
Does QuickTime automatically caption a new screen recording?
The macOS Screenshot and QuickTime recording workflows capture a video; use a caption editor or a publishing platform to create captions afterward. QuickTime can display subtitles already present in some media, which is different from generating a transcript for a new recording.
Should I trust automatic captions without editing them?
No. Check names, technical terms, timing, and places where multiple people speak. The exported video is the final test, because it shows whether the captions remain readable over the real interface.
Are styled captions in the video the same as YouTube captions?
No. Styled captions rendered into the video stay visible. YouTube's caption track can be selected by the viewer and edited in YouTube Studio. The best choice depends on where the video will be watched and the accessibility requirements of that destination.